
Frame Replacement Process - Tour V3 & Twin V3Updated 18 days ago
Replacing your stroller frame is easier than you might think — and the best part? No tools required! 🎉 If you’re receiving a replacement frame, we’ve put together this quick guide to walk you through the process and make things as simple as possible (because we know you already have enough on your hands… especially if there’s a toddler involved 😉).
What’s in the Guide:
Steps for your Frame Replacement
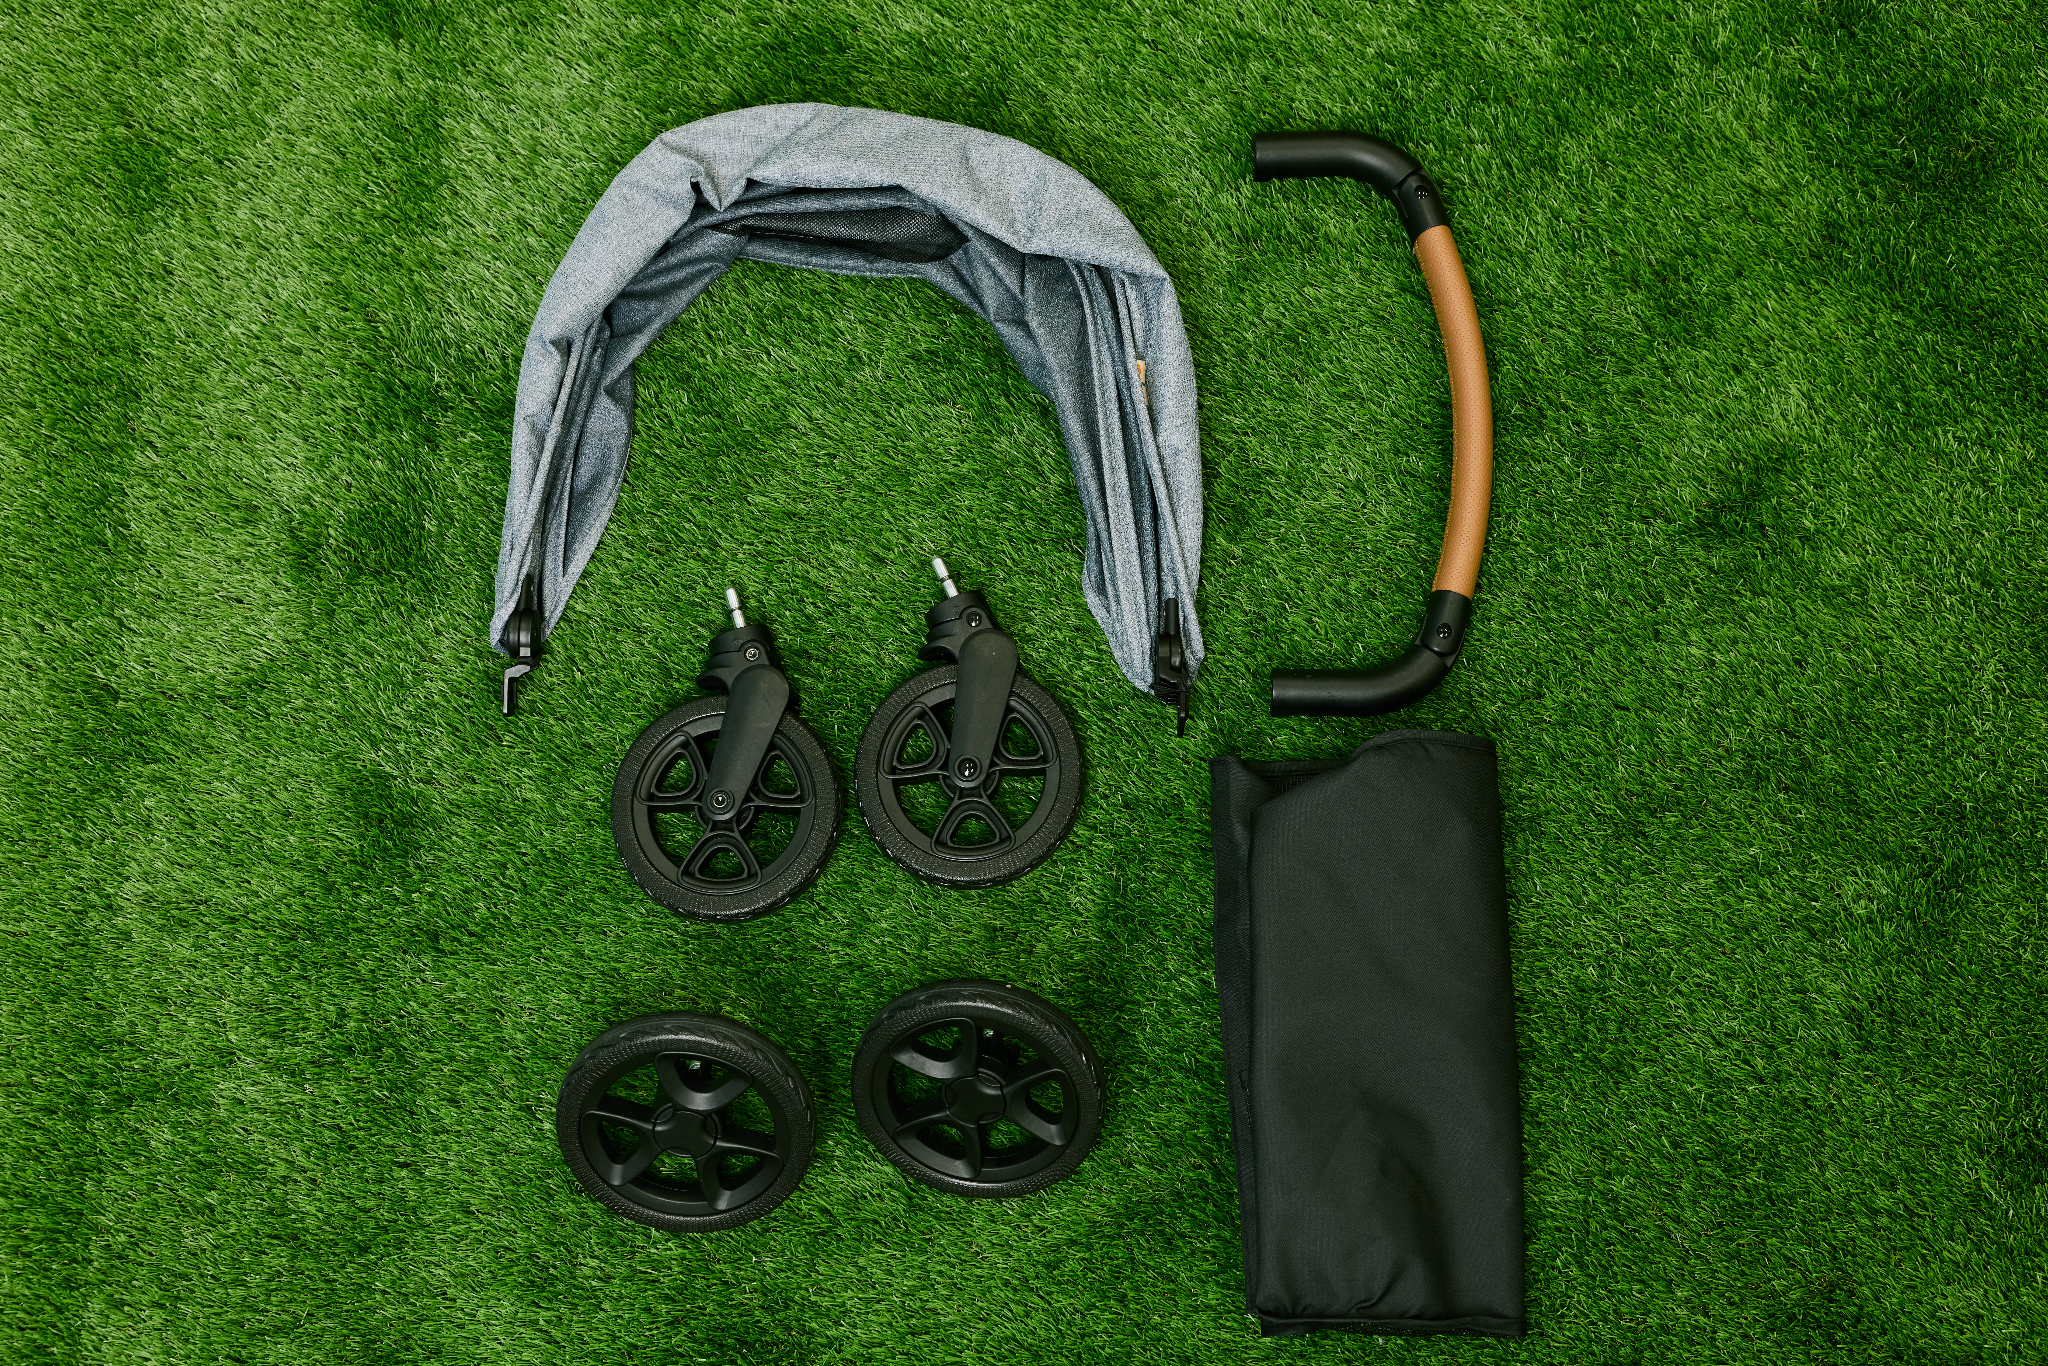
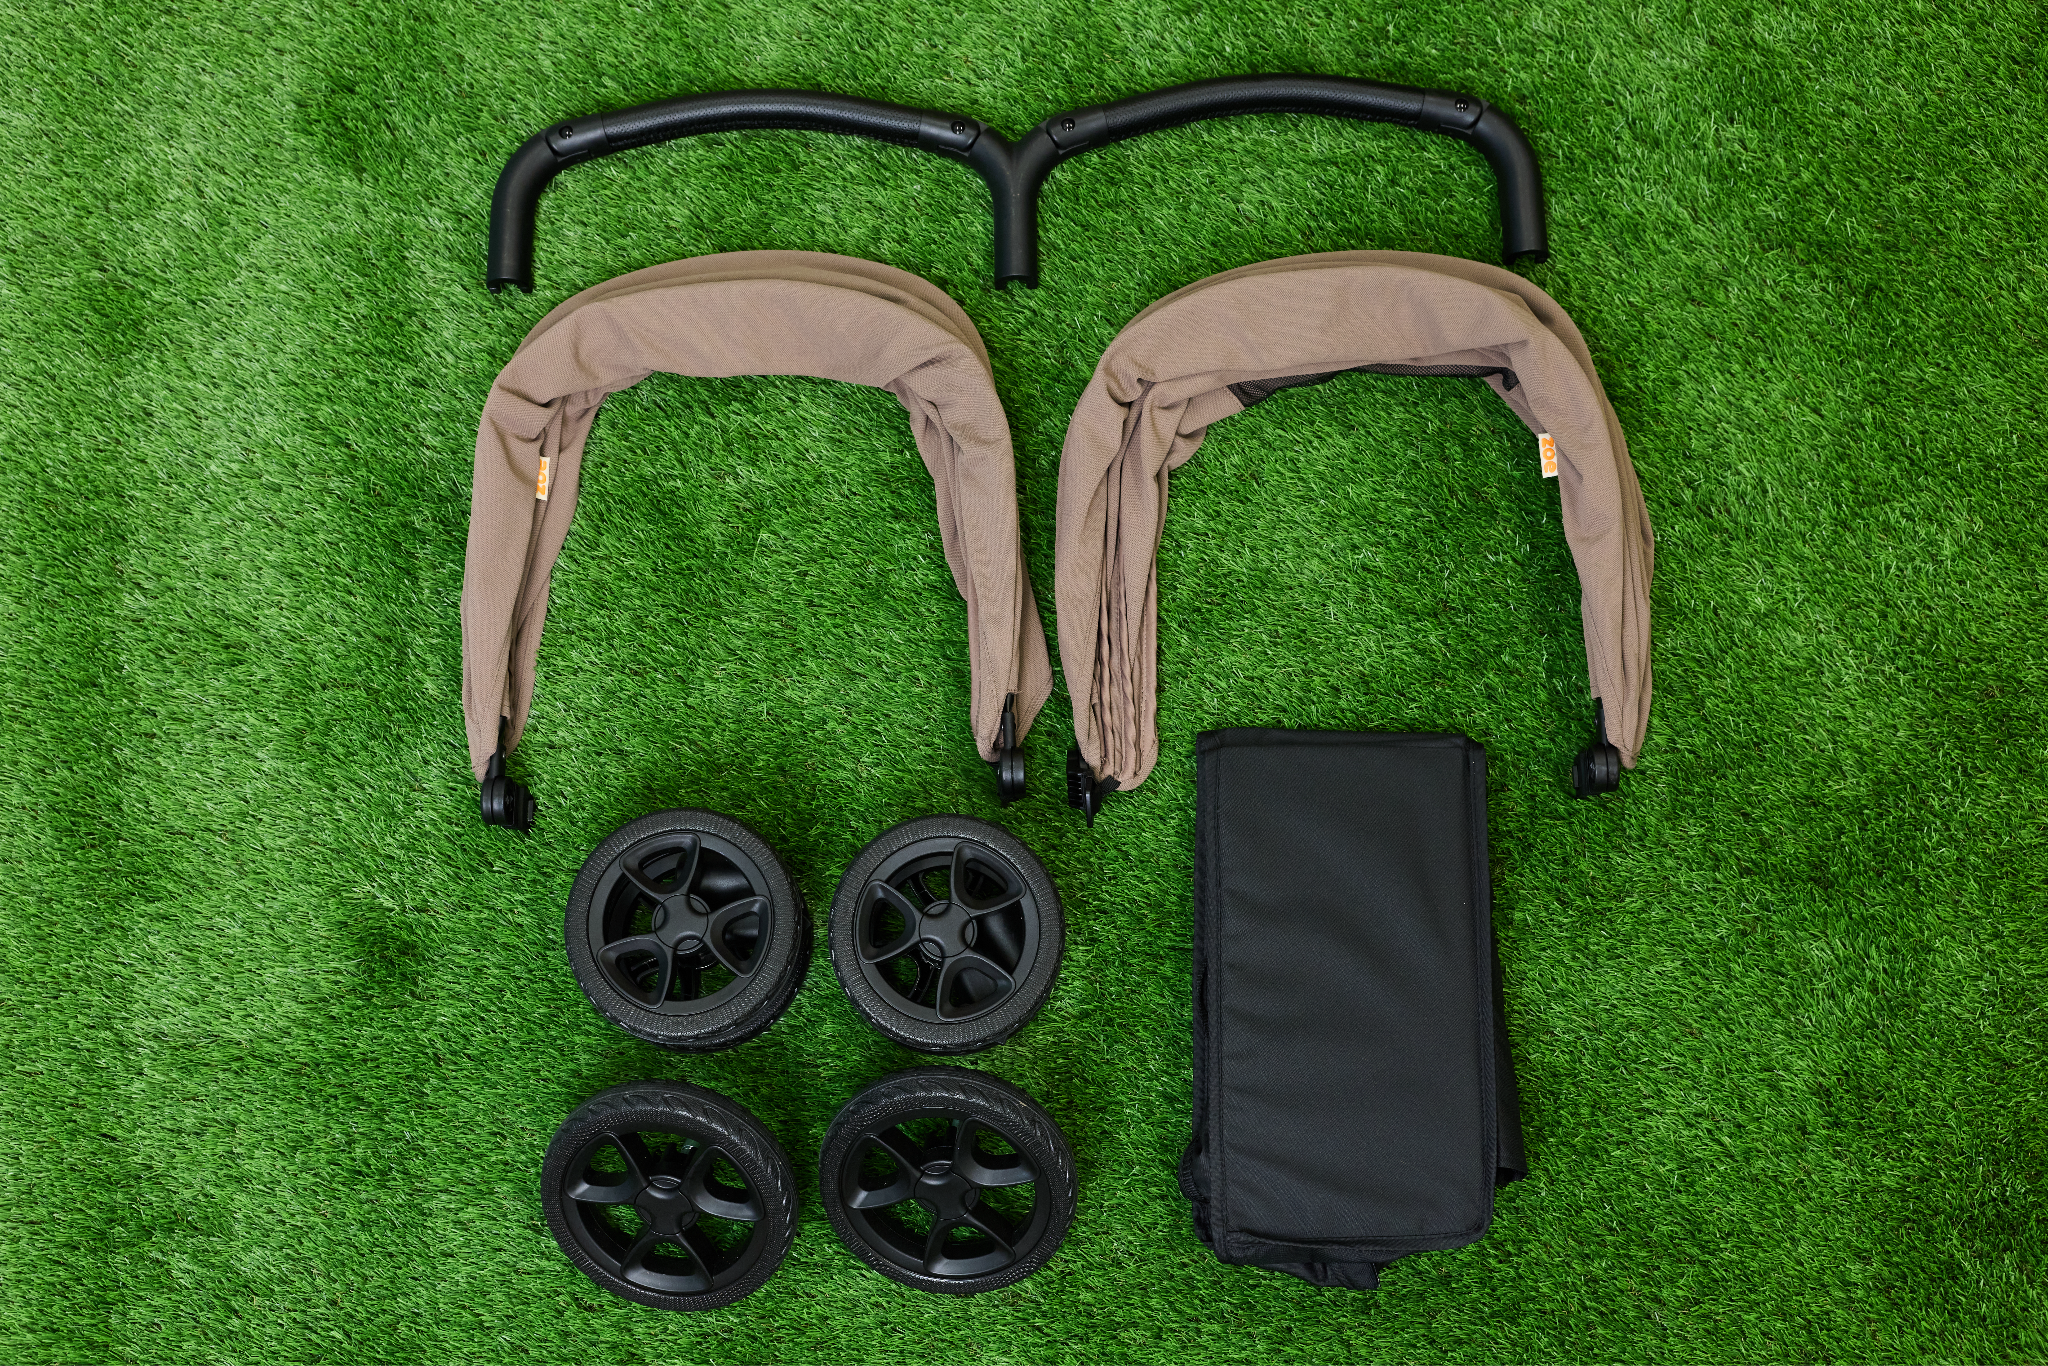
To get started with this process, you will first need to remove some essentials from your current stroller so they can be swapped to the replacement frame once it arrives.
✔︎ Canopies
✔︎ Wheels
✔︎ Belly bar/snack tray
✔︎ Basket
✔︎ Other accessories
You'll essentially remove anything that is not permanently attached to the seat portion of your stroller.
Once you have removed these items to put on the new frame, you can discard your original stroller frame. All of the parts that you removed from the original frame can be easily added to your new frame when you receive it.
The Tour V3 Frame Replacement
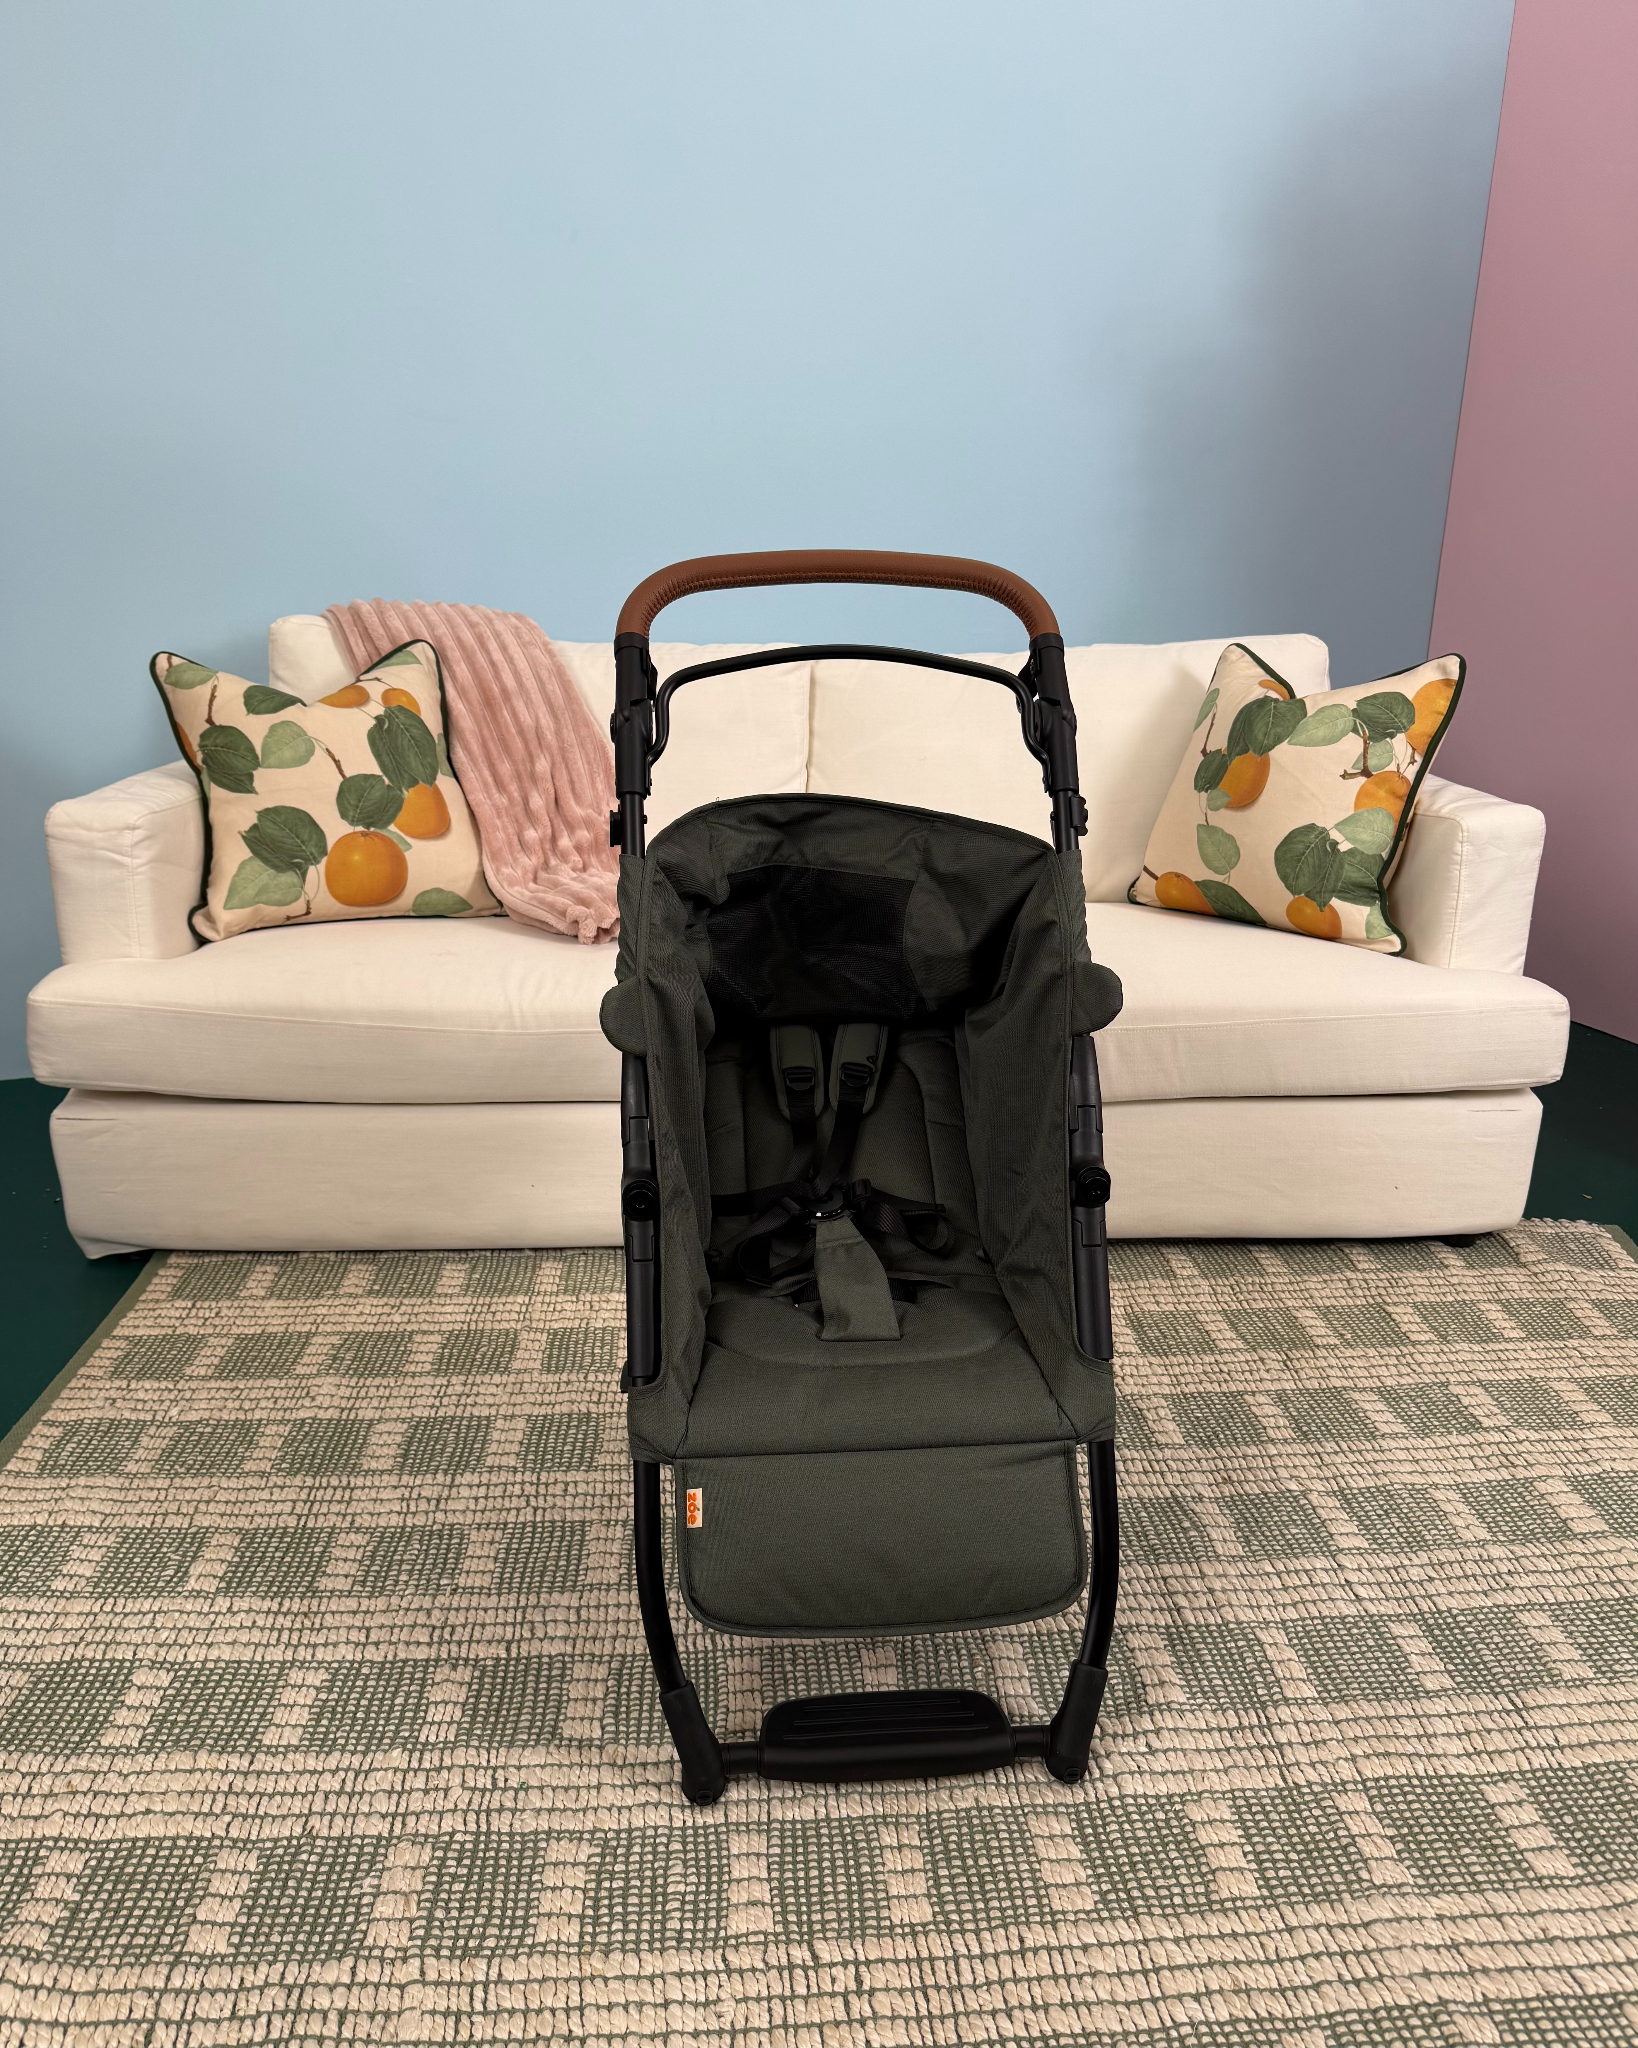
See the photos and video below showing which parts you'll remove, as well a visual example of your replacement frame.
*these are the parts you should remove from your old frame to add to your new stroller👇
*your replacement frame will look like this👇
How to replace your Tour basket
How to replace your Tour canopy
The Twin V3 Frame Replacement
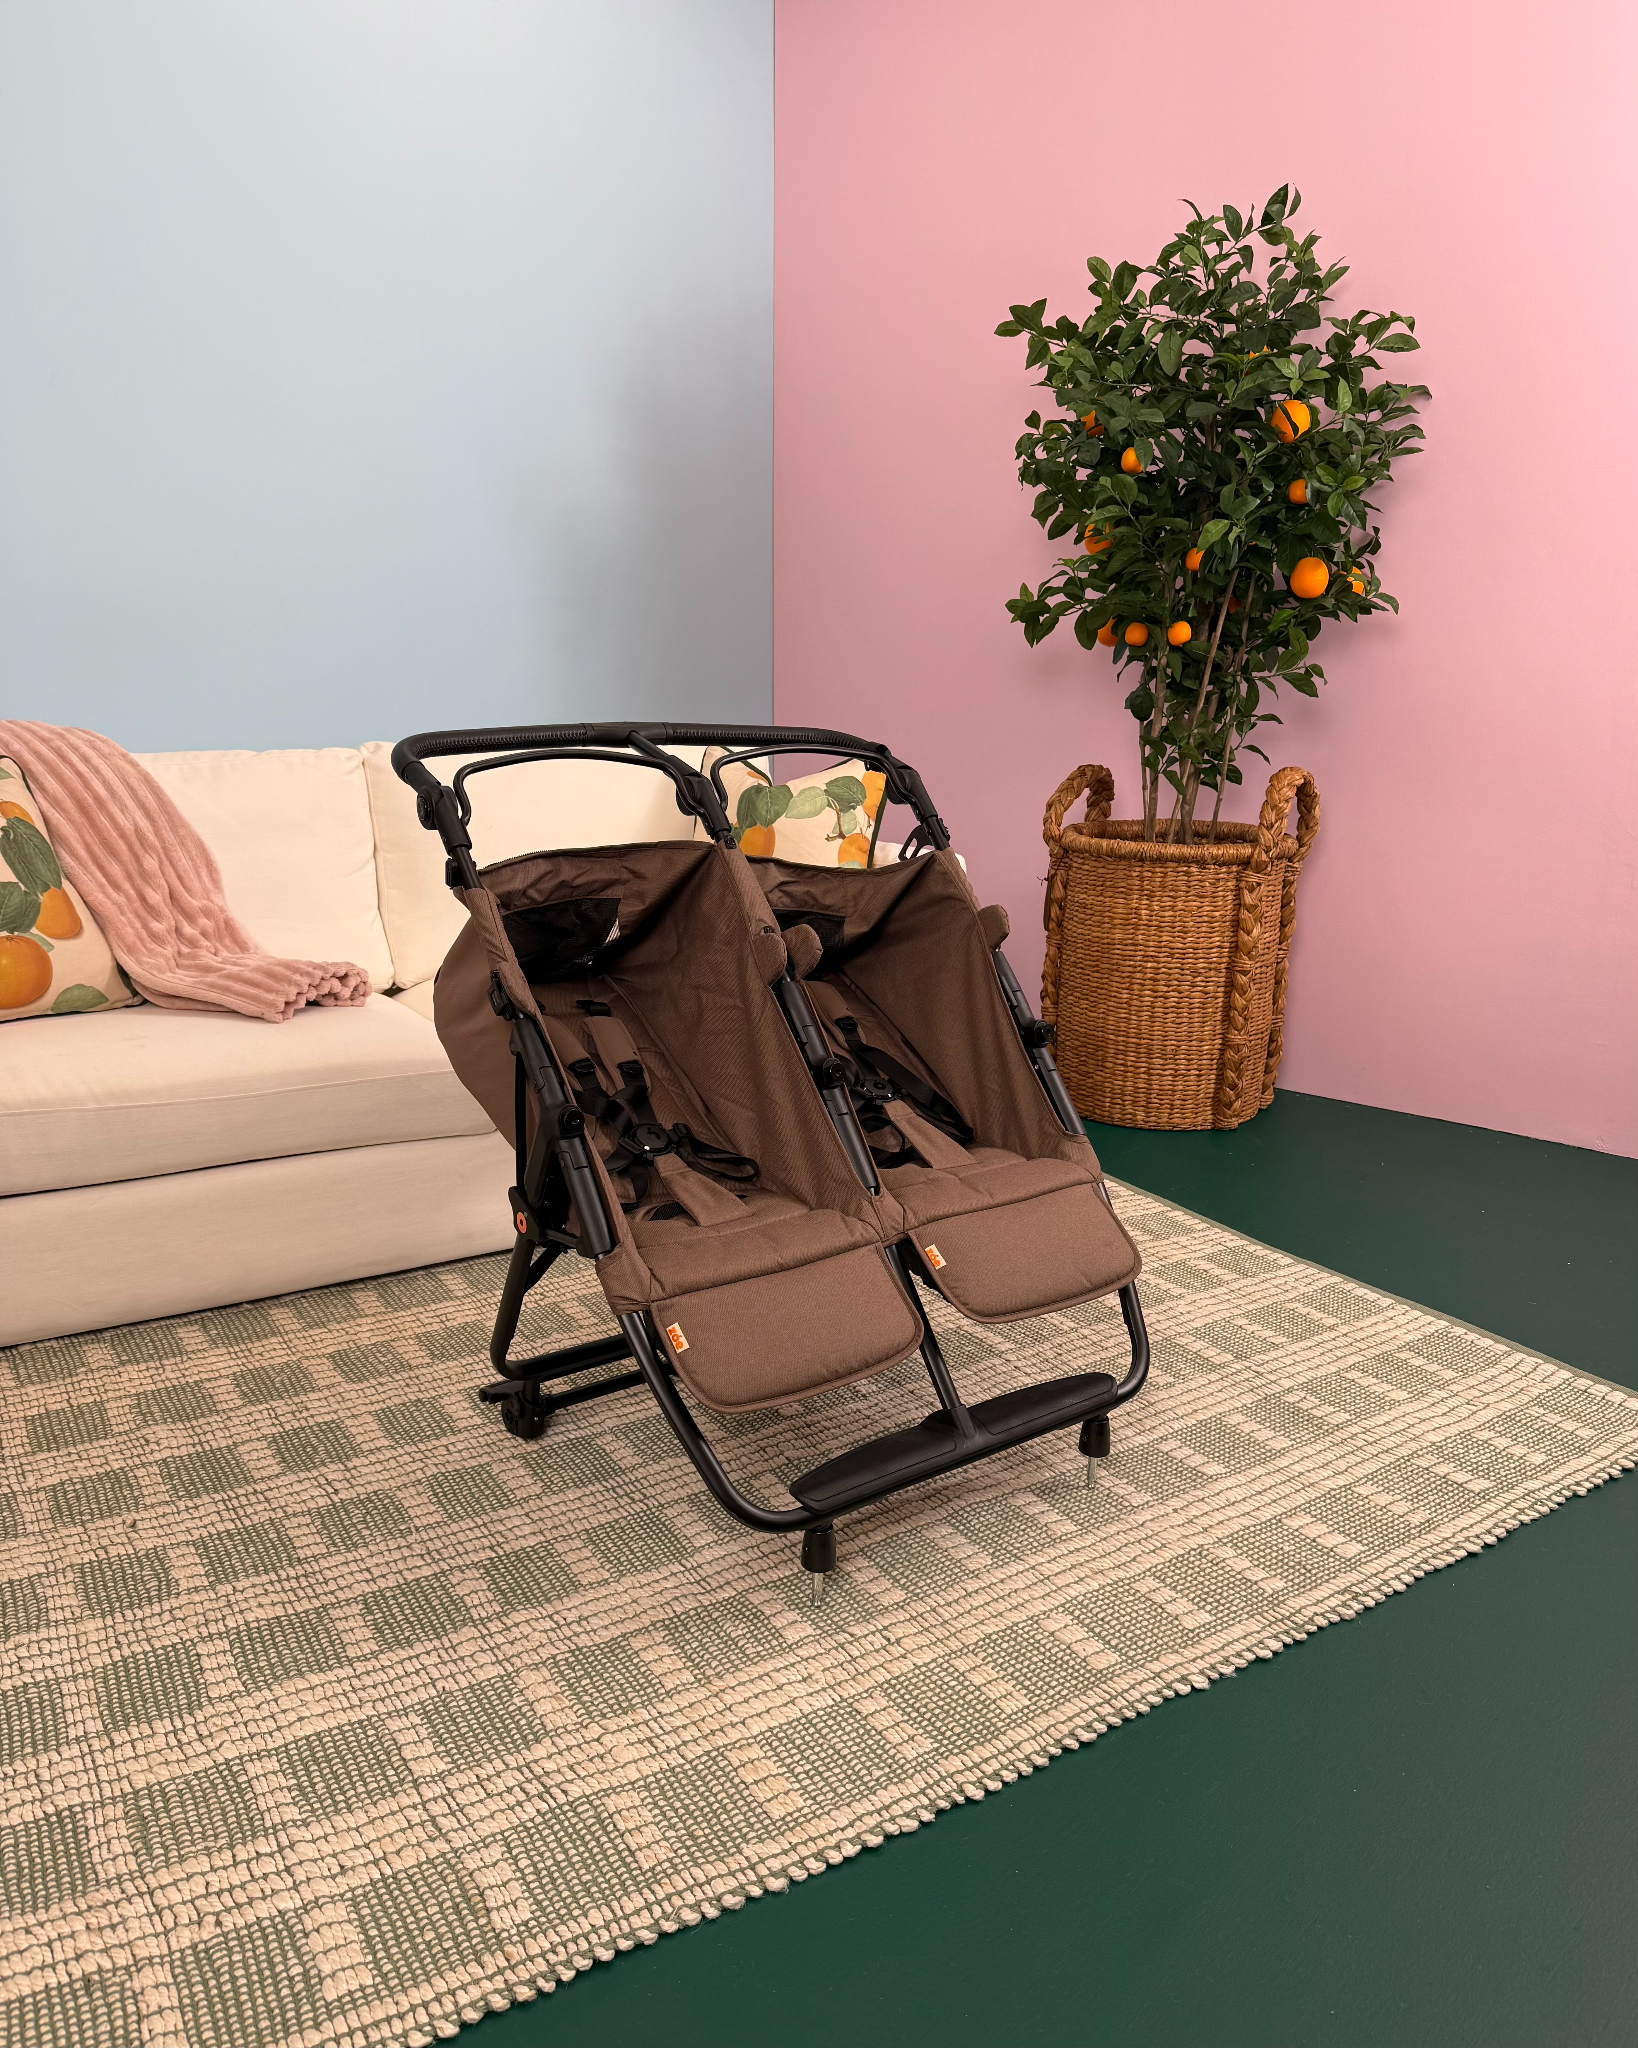
See the photos and video below showing which parts you'll remove, as well a visual example of your replacement frame.
*These are the parts you should remove from your old frame to add to your new stroller👇
*Your replacement frame will look like this👇
How to replace your Twin basket
How to replace your Twin canopy
Need Help? We're Here!
Zoe's world class Customer Experience Team is here to help you every step of the way. If you have questions of any kind, reach out.
Find us on chat most weekdays, text us (866-701-1720), or send us an email ~ [email protected].